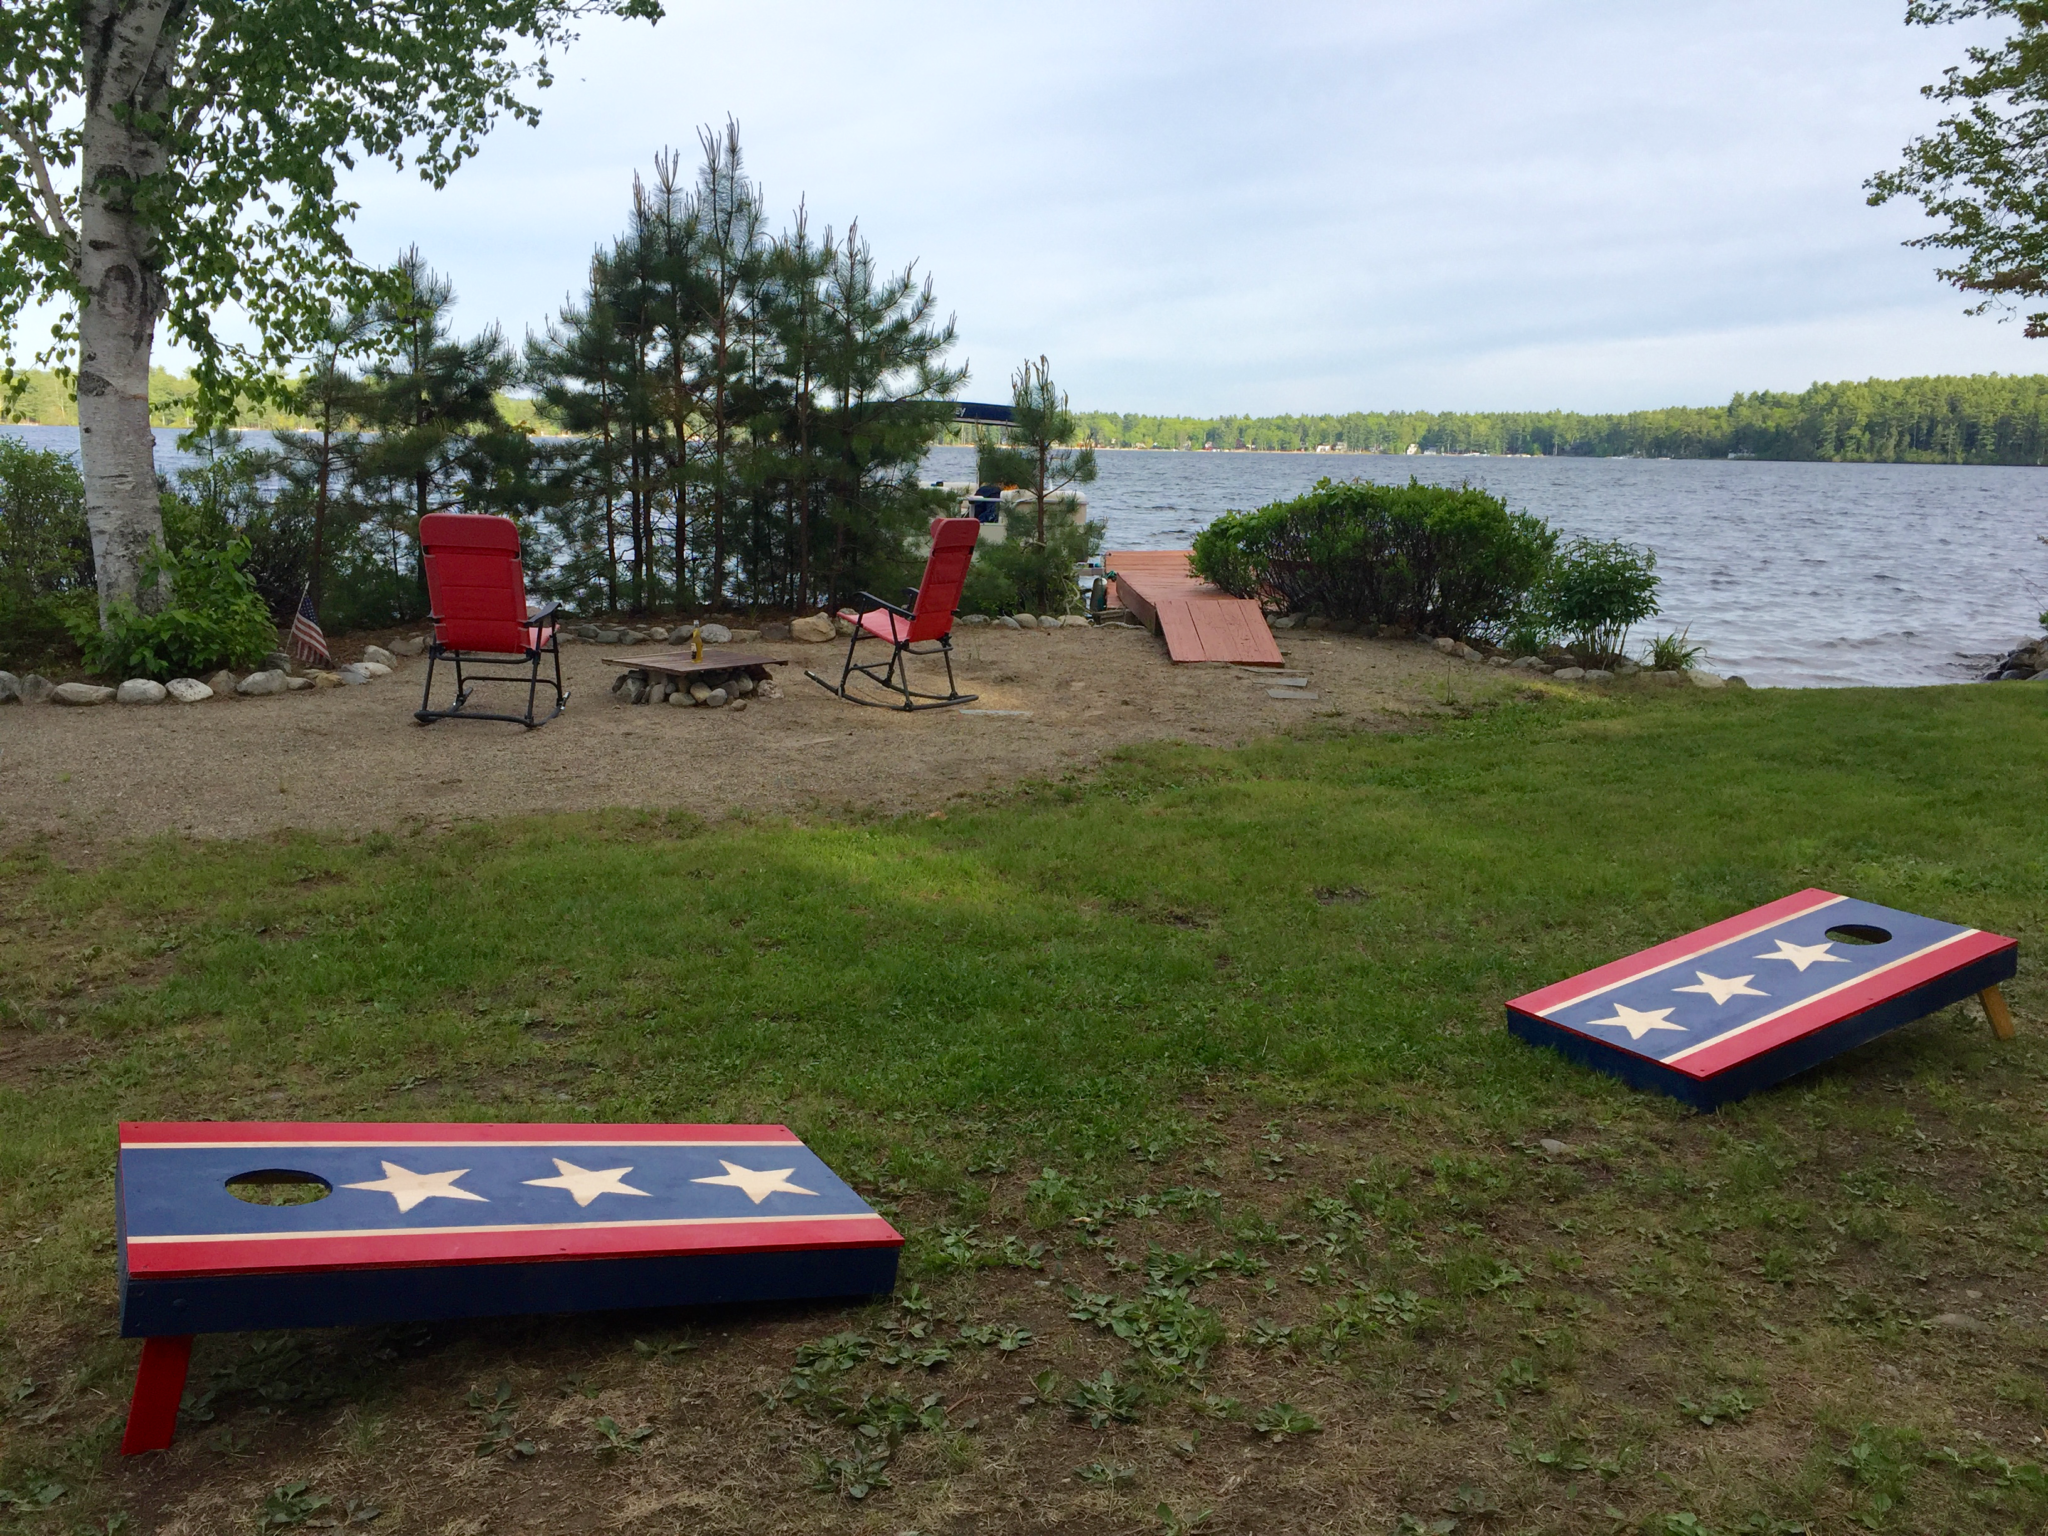
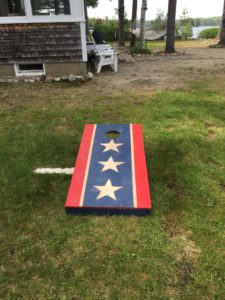
The 4th of July is right around the corner! Get ready for BBQ’s and fireworks by building your own stars & stripes Cornhole set. It’s a fun weekend project to tackle with friends. It’s an extra bonus if you can find a spot to build them by a lake. When you’re done, find yourself some good quality bags and get tossing!
Materials:
- (2) 1/2in. x 2ft x 4ft plywood boards (Home Depot sells pre-cut boards)
- (4) – 8ft 2×4’s
- Painter’s or Frog Tape
- Box of 2-1/2’’ Wood Screws
- (4) 4’’ Carriage Bolts (3/8in diameter)
- (4) Washers to fit Bolts (3/8in diameter)
- (4) Nuts to fit bolts (3/8in diameter)
- Wood Putty
- High Gloss Paint (Red, White & Blue)
- Star stencils
Tools:
- Jigsaw with scroll saw blade
- Drill
- Set of Drill Bits
- Circular Saw or Miter Saw
- L-Square
- Compass (or 6in circle to trace)
- Tape Measure
- Sander and/or sandpaper
- Paintbrushes
- Clamps & Corner Clamp
Instructions:
ONE: Understand the Dimensions

The most important step of any project is understanding the end goal. Check out the figures above for regulation size specs.
TWO: Make Your Cuts
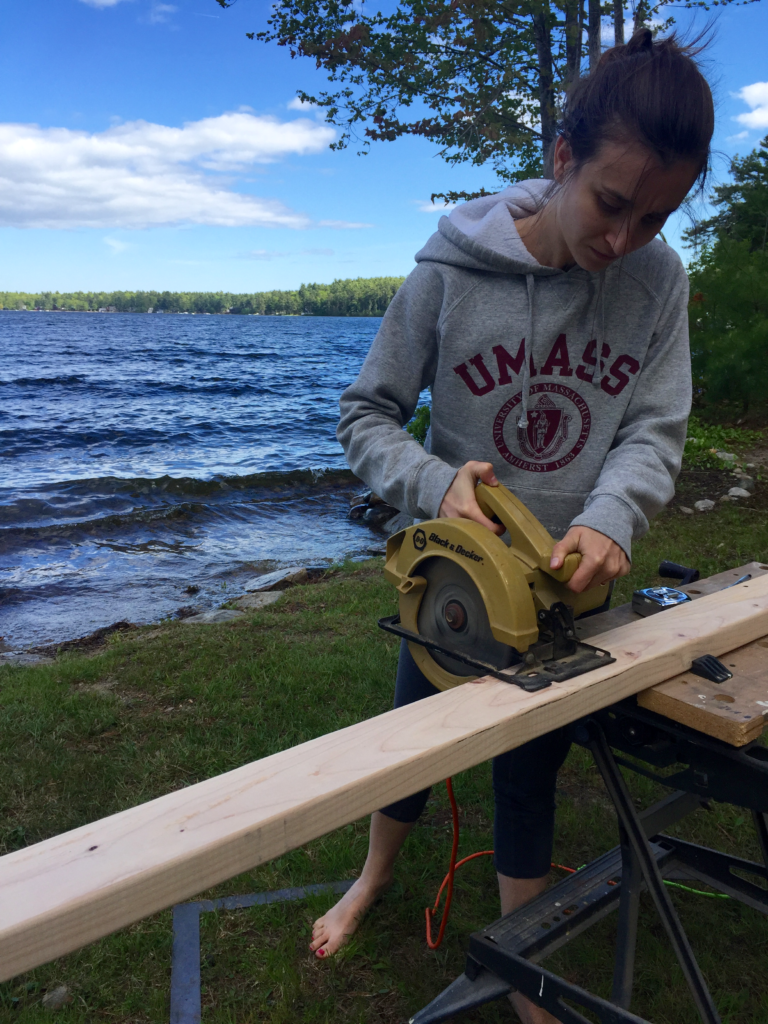
Use your circular saw (miter saw is best if you have one handy!) to make the following cuts:
- Four 48 in pieces of 2×4. These will become the long ends of your platform.
- Four 21 in pieces of 2×4. These will become the short ends of your platform.
- Four 11.5 in pieces of 2×4. These will become the legs for your boards.
Don’t put your saws away quite yet – you’ll need them in two upcoming steps!
Note: We used 1×4 for the legs of our boards because we had extra wood laying around. I’d recommend using 2x4s for extra stability.
THREE: Measure & Cut Hole in Top Boards
Note: If you have more than one person working on this project, you can speed up the process by having two people work on steps 3 & 4 simultaneously.
If you’re using pre-cut top boards, you can skip to step 4.
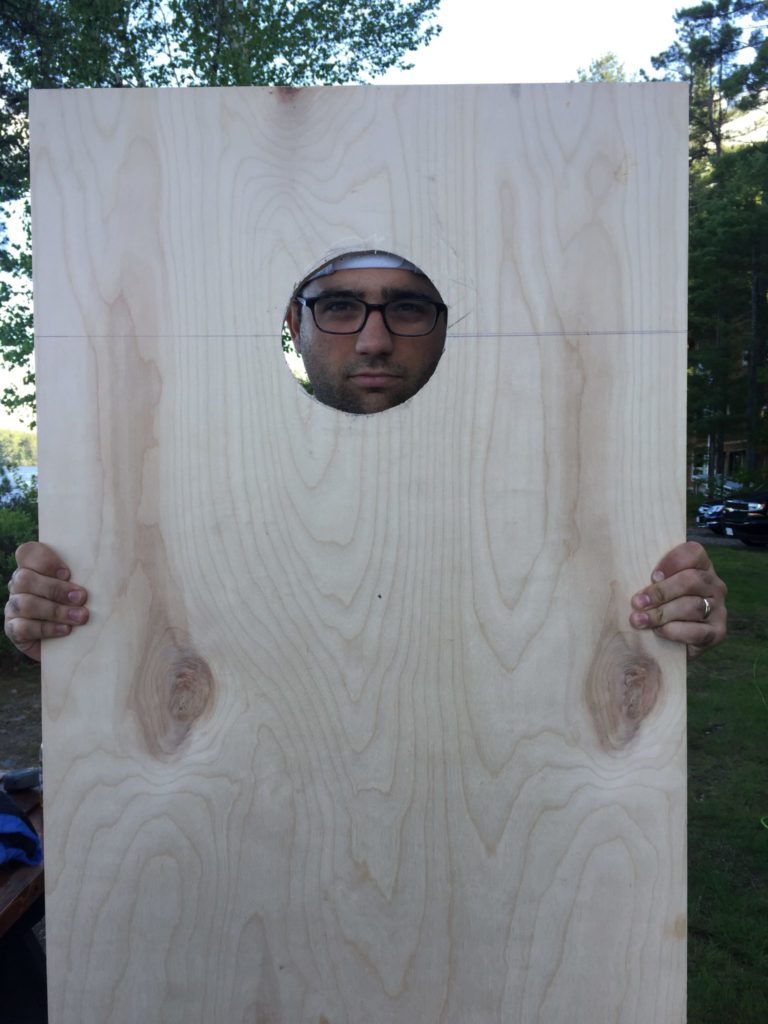
The first step to cutting your board’s holes is to find the center point of the circle. Use your L-Square to measure 9 inches from the top and 12 inches from the left and right sides (fig. 3, Step 1). Once you have your center point, use a circle compass to draw a 6-inch circle (we didn’t have one on hand, so we found an old bucket to trace).
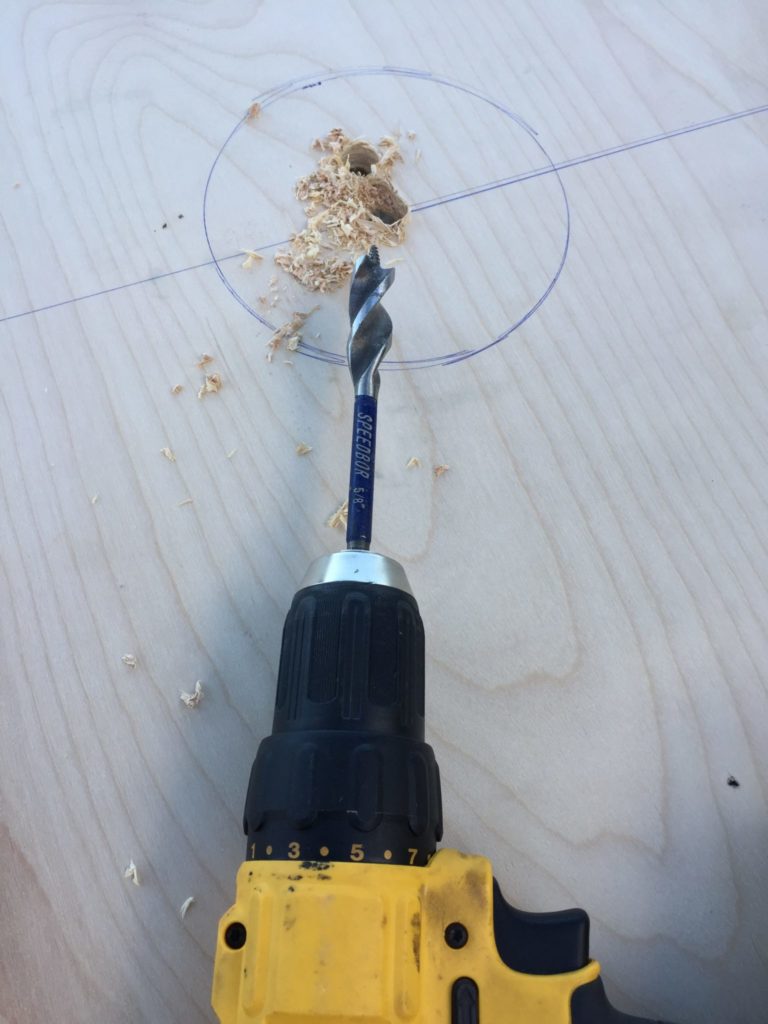
Now that you’ve drawn out the circle for your hole it’s time to cut. Start your hole by drilling 1-2 holes on the inside of your circle (holes should be big enough to fit a jigsaw blade). Work your way around the circle with your jigsaw. Taking smaller chunks at a time works well if you start closer to the center. You’ll have the easiest time following the curve of your circle by using a scroll saw blade on your jigsaw. Finish by sanding the rim of the circle you just created. Repeat for second board.
FOUR: Build Your Platforms
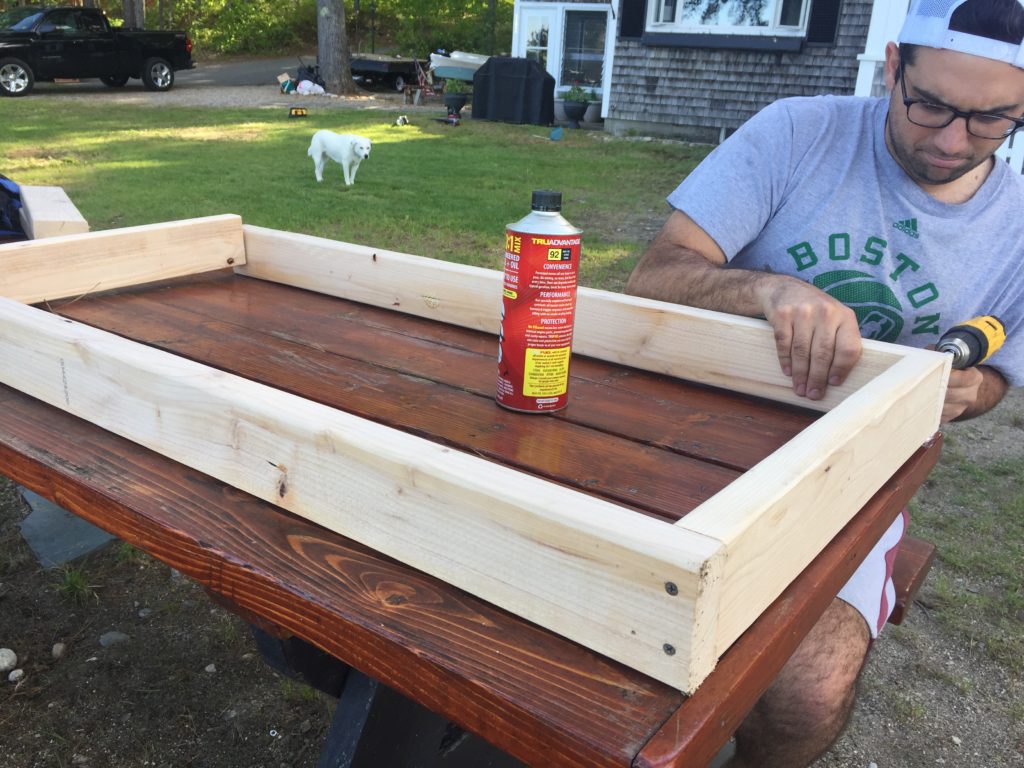
Grab your corner clamps if you have them, or a second set of hands if you don’t. Place the 21in pieces of 2×4 inside of the 48in pieces and fasten with screws to create a rectangle. Repeat for the second board.
Note: You’ll have an easier go at this if you drill pilot holes before going in with the screws.
FIVE: Attach Top Boards & Putty
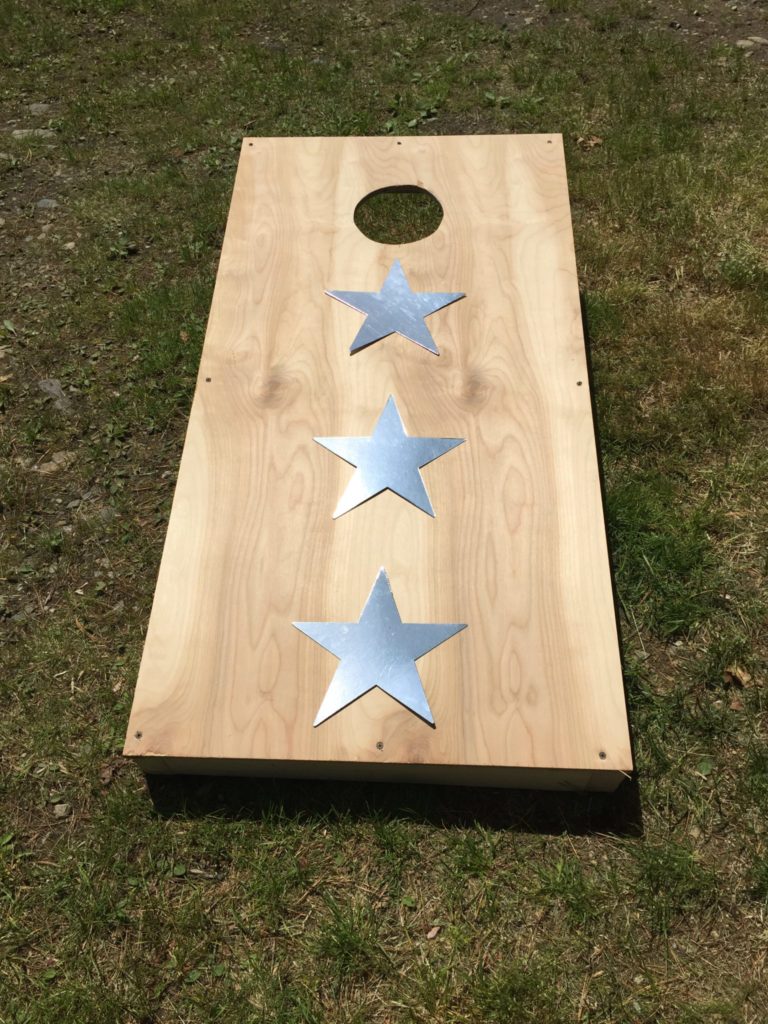
When the platforms are assembled and top boards holes are cut, it’s time to fasten the two together. Lay your top boards down – one on each platform. Make 3 pilot holes along each side of the boards. Countersink one screw into each pilot hole. Wrap up by filling your screw holes with wood putty.
SEVEN: Form the Tops of Your Legs
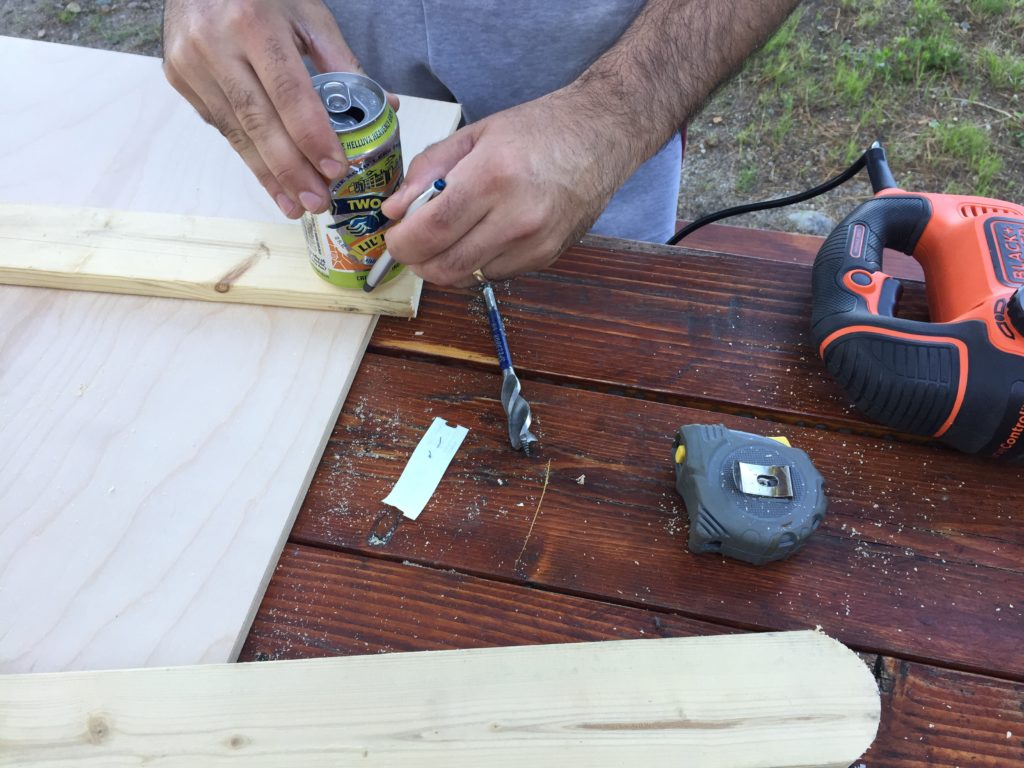
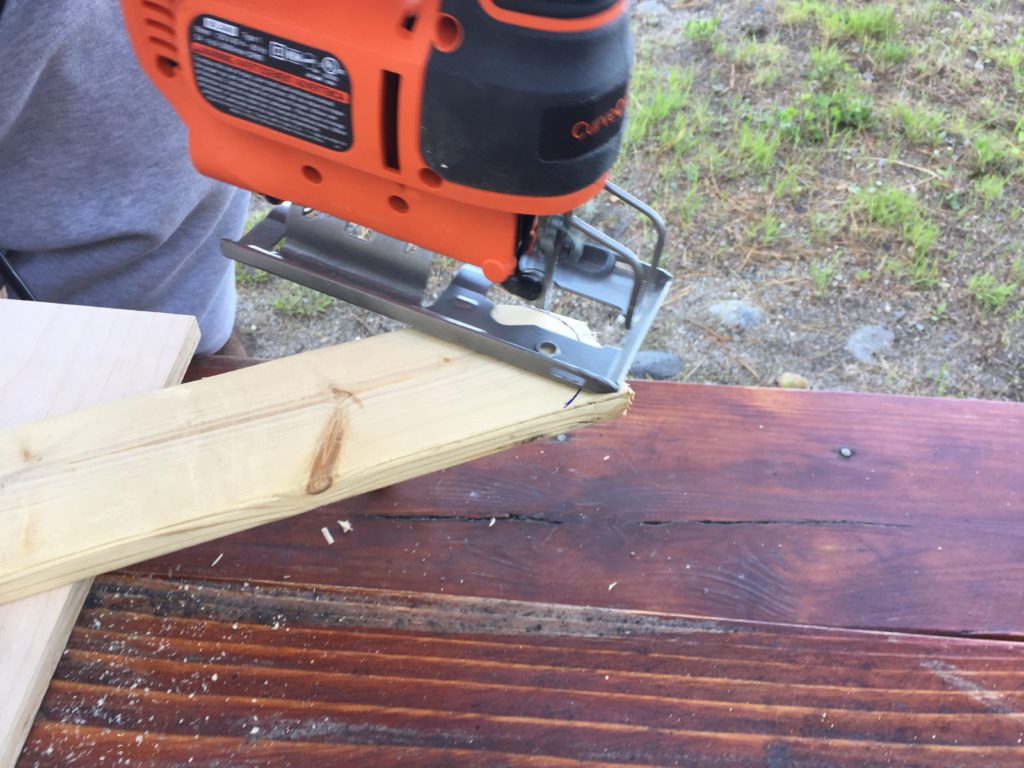
You can get really official and measure this out (3.5in radius cut), or you can grab a beer or seltzer can and trace. Place your can so that it sits flush with one end of the 11.5in 2×4. Trace around the can. Use your jigsaw and scroll blade to cut the curve. Repeat with the remaining leg pieces.
EIGHT: Attach Your Legs
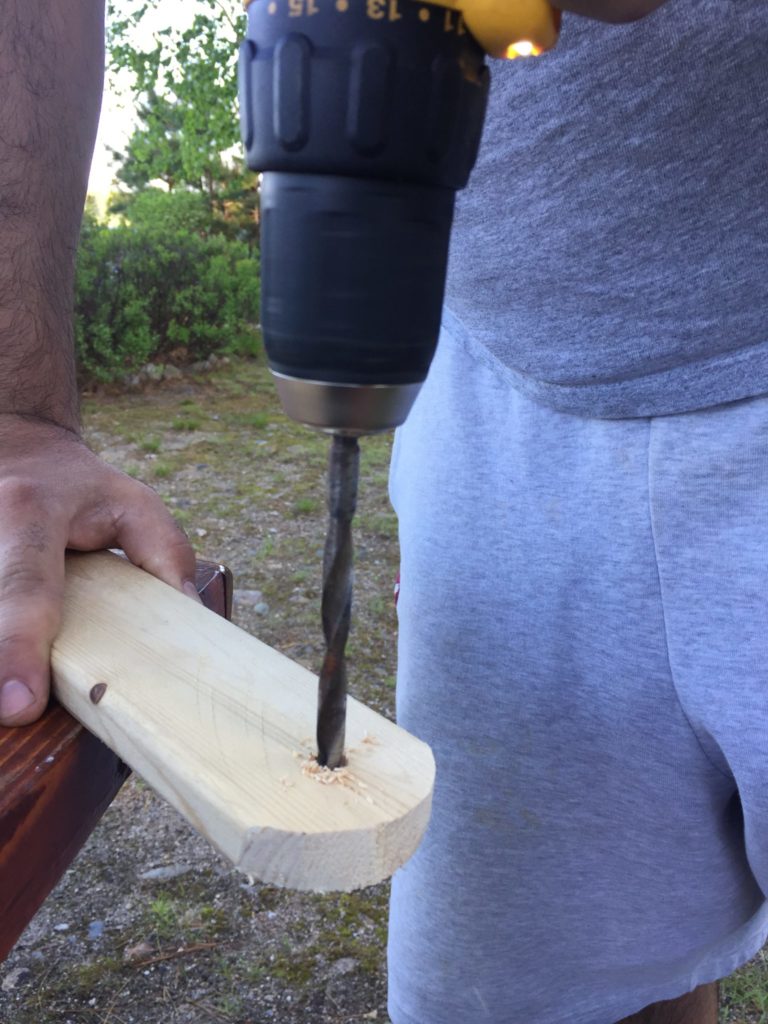
Find the center point of each of the curves you just created for your legs. Drill a 3/8’’ hole into each center mark. Turn one of your boards upside down and lay the legs inside (parallel with the long edges of your platform, radius edge against the top of your board). Make a mark inside of your leg holes. Drill a 3/8’’ hole into each mark. (Alternatively, you could clamp your legs in the correct spot and drill through both the platform and each leg at the same time).
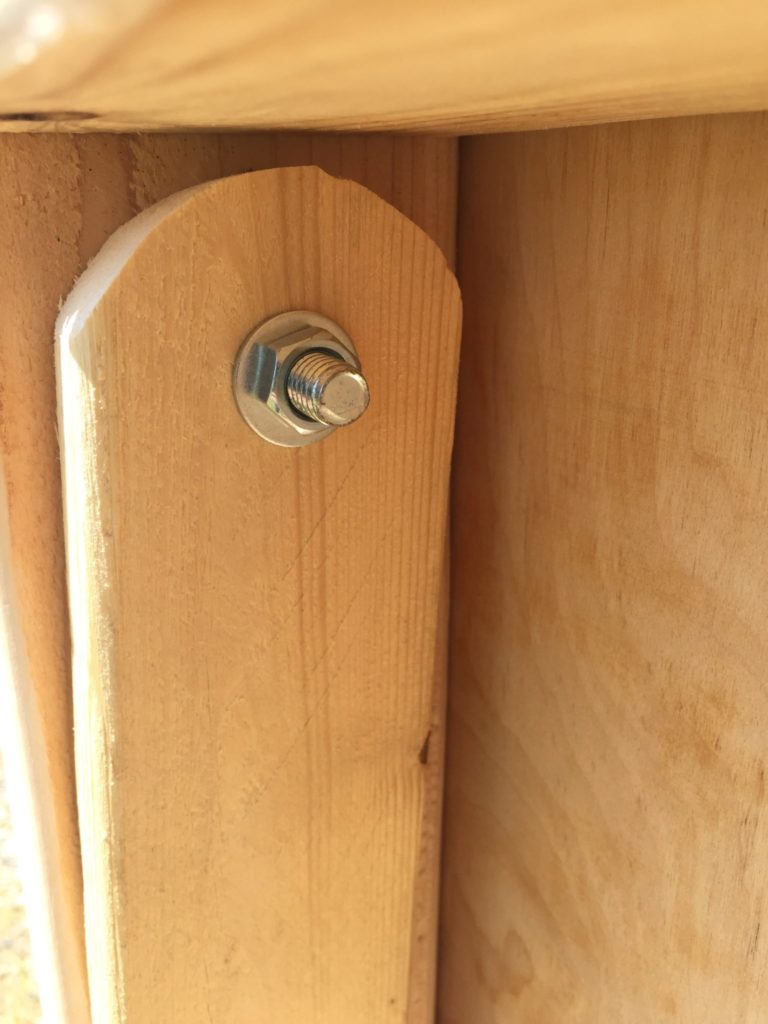
Insert your bolts, washers, and secure with nuts. Make sure that your legs are able to rotate out and under easily. If there are sticking points, sand radius edge down until there is no rubbing. Repeat until legs are attached on both boards.
NINE: Trim Your Legs
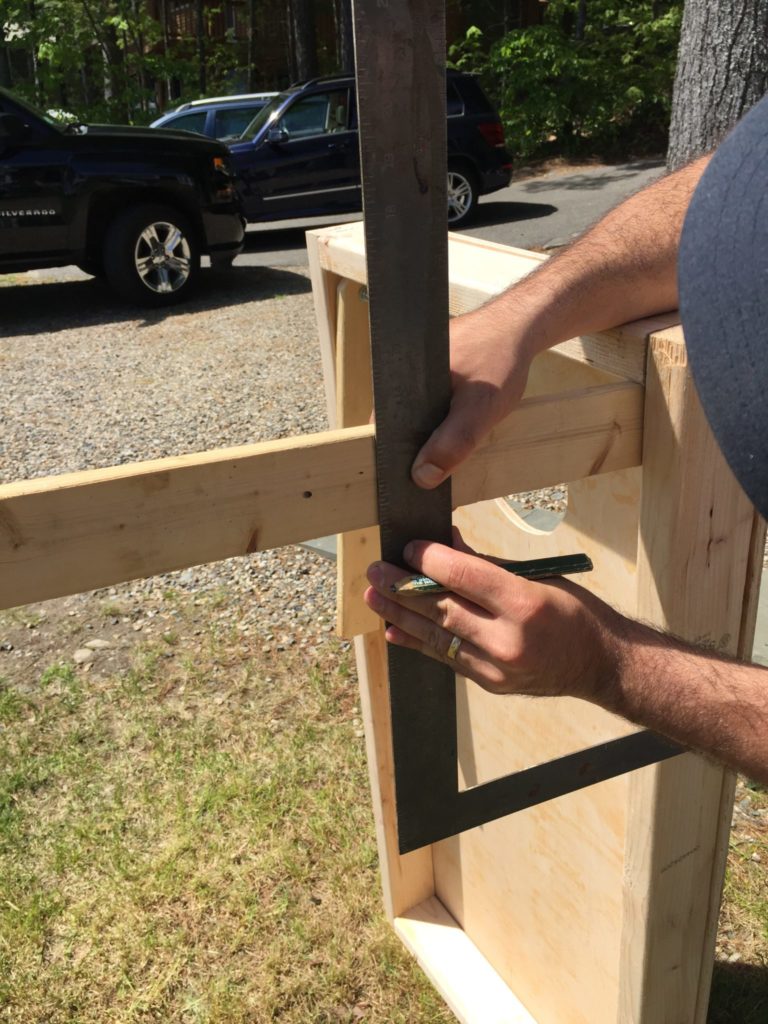
Cutting the leg angle is the trickiest part of this whole process. First, stand your board up with legs extended. Measure 12 inches from the very top of your board and mark it on each leg (fig. 2, Step 1). Use your L-Square to draw a straight line across the bottom of the leg at the mark.
TEN: Sand Your Board
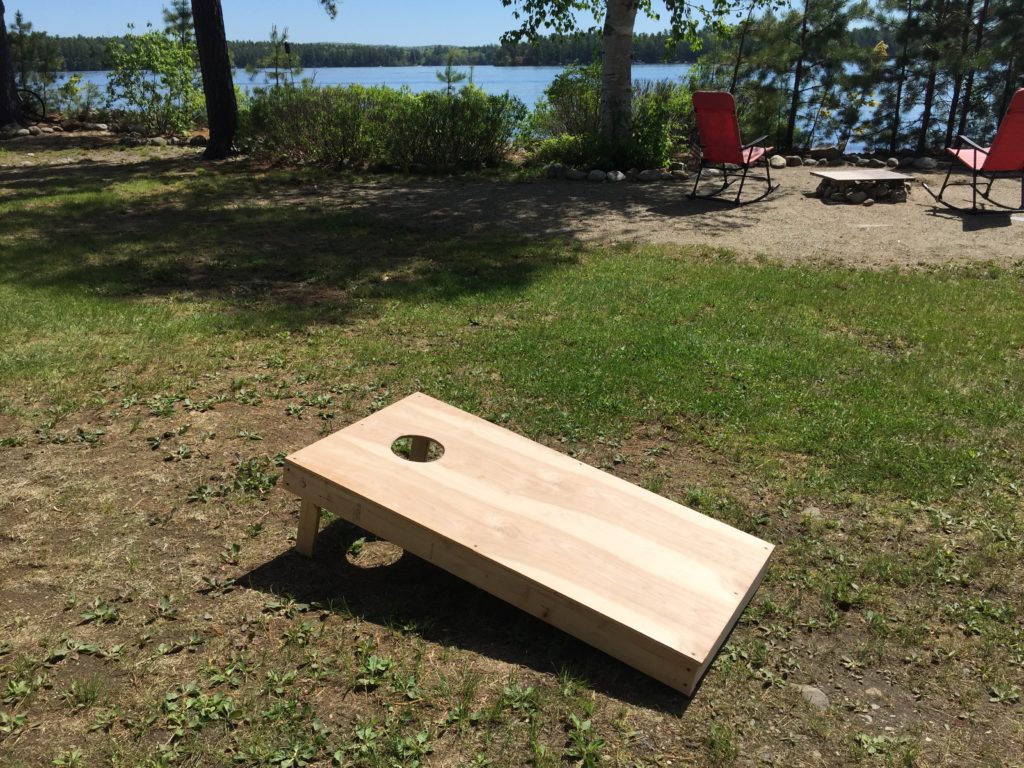
Take a sander, or sandpaper and give your boards a good rub down. You’ll want to make sure the surface of your boards and hole edges are smooth, so that the bags can slide about.
ELEVEN: Paint Your Board
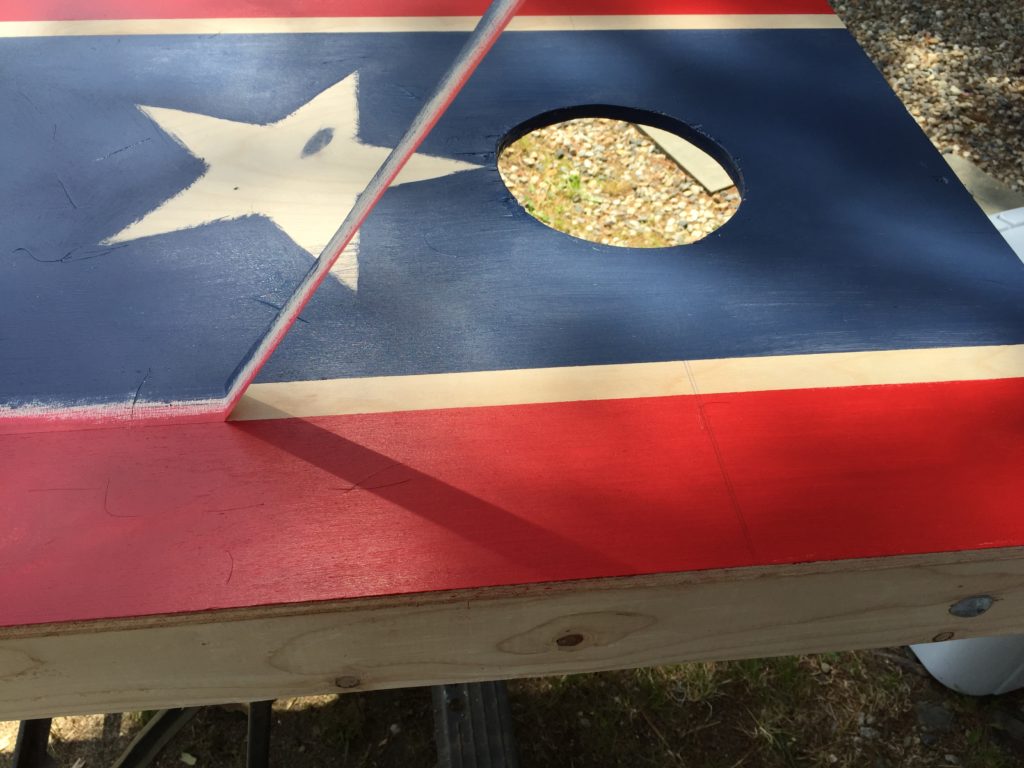
This is the fun part! Let your mind go wild – you can be as creative as you want here. One thing I would strongly suggest is drawing out your design on paper before you begin this step. Skipping this drafting step is how we ended up with boards that slightly resemble the confederate flag (oops…NOT our intention at all!). We were really going for an abstract interpretation of the stars & stripes.
If you like this design, you can re-create it using the following steps:
- Tracing 3 stars leading up to the hole in the center.
- Tape the inside edges of each star.
- Measure 3.5 – 4 inches from the left and right edges. Place a strip of tape down the length of the board on each side.
- Outside edges are painted red.
- The section around the stars are painted blue.
- The platform and legs can be painted blue, or red depending on your preference.
- Let the red and blue sections dry completely.
- You can leave the wood natural color, or tape the outside lines and paint the stars and stripes white. Note: If you leave the wood natural, finish with a clear coat of water-based polyurethane (gloss finish).
TWELVE: Grab Some Friends & Start Tossing!
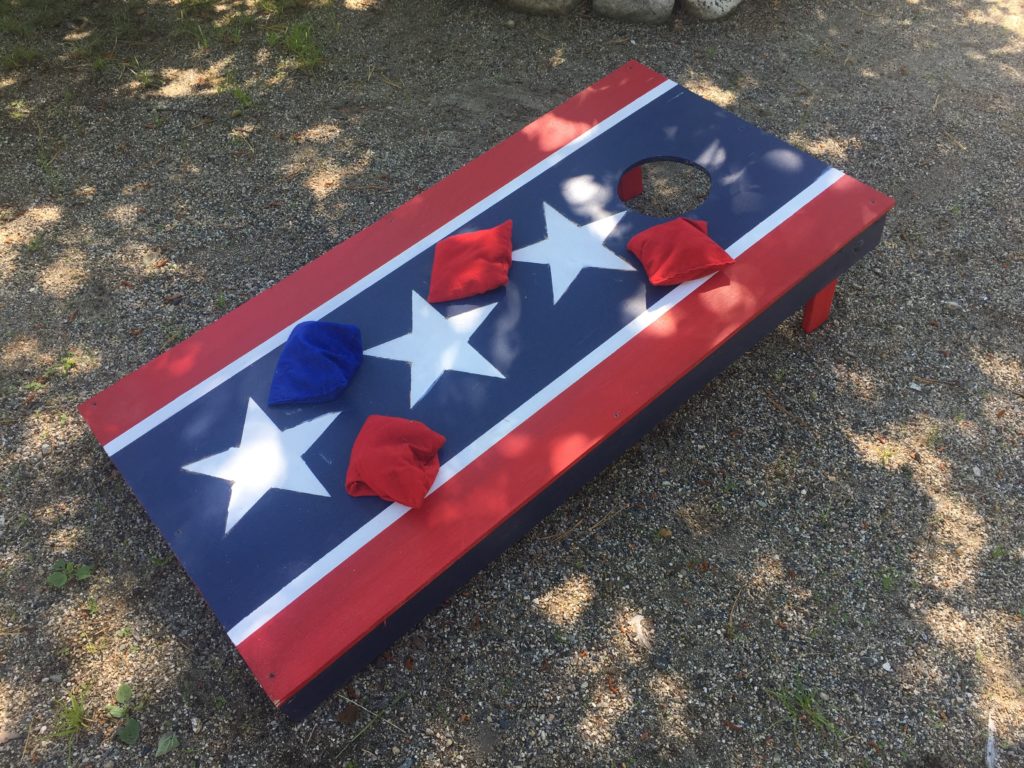
Did you build your own set? Let us know how it went below!
